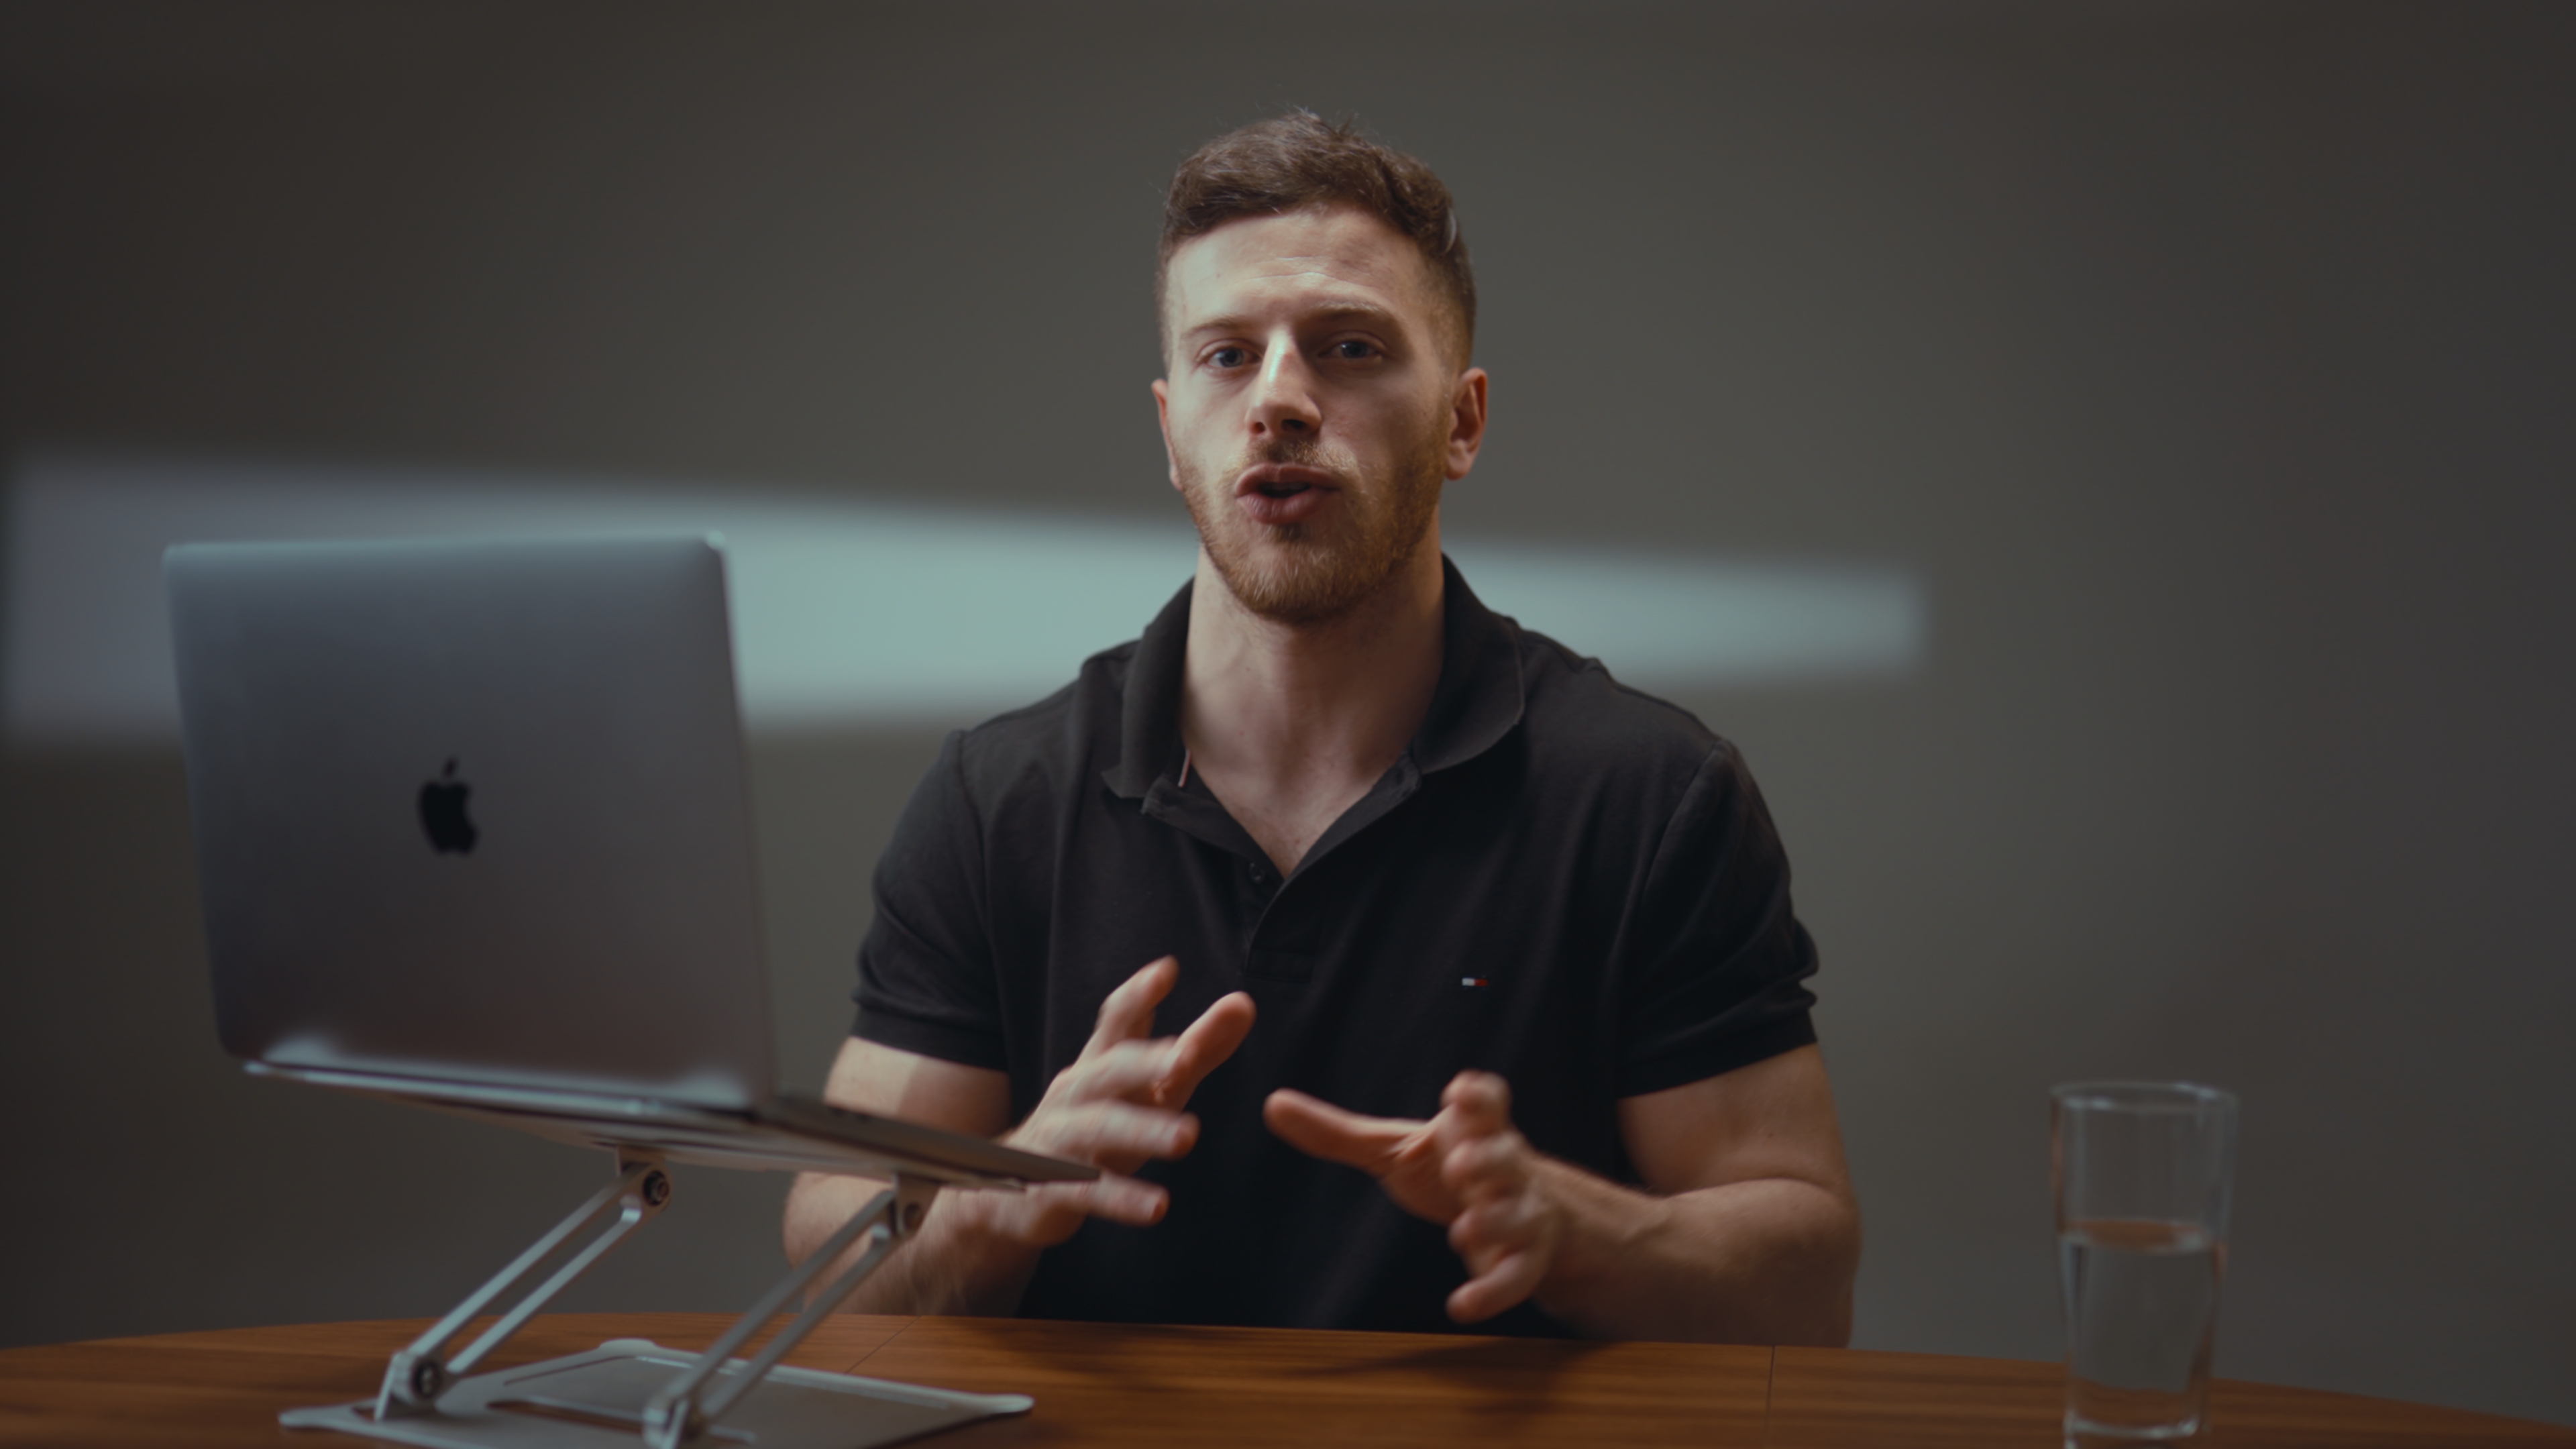
To film footage for an AI avatar, record yourself talking straight to a locked-off camera, with soft, even light that doesn't change and clean, close-miked audio in a quiet room. Keep the frame, background and your position the same from start to finish. Read your avatar platform's technical requirements before the shoot, and treat the recording as a one-time investment: every video your avatar makes later will copy whatever went into this footage, flaws included.
That last point is why the source recording deserves more care than an ordinary talking-head video. If the light flickers, the audio has room echo or your head drifts out of frame, you won't get one bad video. You'll get an avatar that repeats those problems in everything it produces.
Why does source footage matter so much for an AI avatar?
An avatar model learns from the footage you give it: how your face moves, how your skin and features look under light, and how your voice sounds. Anything it can't tell apart from you, it learns as part of you.
- Inconsistent lighting teaches the model that your face changes brightness or color for no reason. Generated videos can then look patchy or "breathing."
- Background noise and echo get baked into the voice clone. Hum and reverb are much harder to remove after the model has learned them than before.
- Camera movement or reframing partway through makes it harder for the model to track your face and mouth, and lip sync is where avatars most often give themselves away.
- Low resolution or soft focus sets the quality limit. The avatar can't be sharper than its source.
A phone on a bookshelf near a window can work for a test. For an avatar you plan to use in ads, courses or sales videos for the next year, it's a false economy.
What setup gives the cleanest avatar footage?
Camera
Use a proper camera on a tripod that doesn't move at all during the take. Frame at eye level, usually from mid-chest up, and leave a little headroom. Lock focus on your face rather than leaving autofocus to hunt, and keep exposure and white balance on manual so they can't drift. Shoot at the highest resolution your platform accepts, and ask whether it wants horizontal or vertical. Some avatars are used in both, so record the format you'll use most.
Lighting
You want soft, even, unchanging light. A large soft source in front of you, a gentle fill on the other side, and something to separate you from the background is the classic setup. Avoid window light. It changes as clouds pass and as the afternoon moves on, and the model will notice. Avoid hard shadows under the nose and eyes too, because they move every time you turn your head.
Audio
A good dynamic or shotgun microphone close to your mouth, in a treated or quiet room, is what produces a clean voice clone. Record a level that's strong but never clips, and keep the same mic distance for the whole recording. Even if your platform clones your voice from a separate audio sample, clean audio in the video take still helps the lip sync.
A steady, neutral scene
Pick a simple background with no moving elements. That means no screens, no swaying plants and no people walking past. Wear solid, mid-tone clothing without fine stripes or small checks, and avoid anything that matches your background color. Skip dangling earrings or anything that catches the light when you move. Whatever you wear becomes your avatar's permanent outfit, so choose something that suits the content you'll make most.
How do you prepare for the recording session?
- Read the platform's requirements first. Duration, resolution, framing, file format and any consent statement you have to record all vary between avatar tools. Write them down and bring them to the shoot.
- Prepare a script. Natural, conversational text is better than a list of words. Include a range of sounds and sentence lengths so the model hears your full voice. If you'll read from a teleprompter, place it so your eye line stays on the lens.
- Plan your neutral moments. Many avatar workflows benefit from a few seconds of you still and relaxed, mouth closed, at the start and end of each take. Ask your platform what it expects.
- Keep gestures small. Moderate, natural hand movement is fine. Avoid hands crossing your face and big shifts in posture.
- Rest your voice. Drink water, skip anything that makes you hoarse, and don't book the shoot right after a long day of calls.
- Bring options, then commit. Bring two or three outfits, test them on camera, then record the whole thing in one look.
- Record more than the minimum. A spare take costs a few minutes. Reshooting because one take had a cough in it costs a whole new session.
If you're filming other content on the same trip, record the avatar footage first, while your voice and energy are fresh. Our guide to batch filming in one studio session covers how to plan a day like that.
Should you upload Log footage or graded footage?
Professional cameras often record in a flat Log profile so there's more room to adjust later. That's great for grading. But Log looks washed out and low-contrast, and an avatar model trained on it will learn that washed-out look. In most cases you want to give the platform finished footage: color-graded so your skin tones look natural, with audio cleaned of hum and evened out. Our article on why Log footage looks flat explains what that finishing involves.
 Straight out of the camera (Log)
 Graded
Keep the raw files too. If your platform improves its model or you switch tools, you can go back to the original recording without filming again.
Where can you film AI avatar footage in Medellín?
Any studio that can give you a locked-off camera, controlled lighting, a quiet room and close-miked audio will do the job. The studio comparison lists the options in Medellín.
Estudio Helios, the El Poblado studio that publishes this site, doesn't create avatars, but clients can record their avatar source footage there. Sessions include a dedicated filmmaker, Sony 4K cameras including the FX3, Aputure, Amaran and Nanlite lighting, Shure SM7B microphones and an XL teleprompter. The hourly rate is USD 130, with a one-hour minimum and 15-minute increments after that, and color grading plus audio optimization costs USD 70 per session. You can take the raw footage on the day by bringing a hard drive, or have the Log files delivered via Google Drive for USD 100. The graded files arrive in Google Drive within three working days. For a fuller budget, see the cost guide.
Frequently asked questions
Can I film AI avatar footage with my phone?
You can for a test, but an avatar copies the quality of its source. Uneven light, room echo and a camera that moves will show up in every video it generates.
Does Estudio Helios make AI avatars?
No. The studio doesn't create avatars, but clients can record the source footage there and use it to build their own avatar.
Should I give my avatar platform Log or graded footage?
Usually graded footage. Log is deliberately flat, and a model trained on it can learn that washed-out look. Keep the raw files as a backup.
Who owns the footage recorded at the studio?
At Estudio Helios, the content belongs to the client and its use isn't restricted, so you can upload it to whichever avatar platform you choose.
What should I wear for AI avatar footage?
Solid, mid-tone clothing with no fine patterns, in a color that stands out from the background. Whatever you wear becomes your avatar's permanent look.