To make your videos sound professional, get the microphone close to your mouth, record in a quiet room with soft surfaces, and keep your distance from the mic the same from take to take. After recording, clean up the audio: remove the background hum, even out the levels between takes and bring your voice up to a consistent, broadcast-ready volume. Most bad audio comes from the room and the mic distance, not from cheap gear.
That's the short version. The rest of this article explains why each step matters, what you can realistically fix at home, and when a studio is worth paying for.
Why does audio matter more than video?
Viewers will put up with slightly soft footage or a plain background. They usually won't put up with a voice that's echoey, muddy or jumping in volume. Bad sound tires people out, and they leave without really knowing why.
For business content this costs you more than views. A coach, consultant or course creator is selling expertise, and listeners link a clear, present voice with competence. Echo makes you sound like you're in a garage, and that's hard to square with what you charge.
The good news is that audio is the area where small changes do the most. You can't turn a phone into a cinema camera, but you can make a phone recording sound far better in an afternoon.
What makes audio sound amateur?
Nearly every audio problem comes down to one of four things:
- The mic is too far away. The further the microphone is from your mouth, the more of the room it records. A built-in laptop or phone mic across the desk picks up the walls as much as your voice.
- The room echoes. Bare walls, tile floors and big windows bounce sound back. That hollow, roomy tone is the clearest sign of a home recording.
- Background noise. Air conditioning, fridges, traffic, a fan in a computer. You stop hearing these after a while. The microphone doesn't.
- Inconsistent levels. You lean in on one take and sit back on the next, or you get quieter at the end of every sentence. Edited together, the volume jumps around.
Notice that "my microphone isn't expensive enough" isn't on the list. A good mic used badly sounds worse than a basic mic used well.
How to get professional sound at home
You can fix most of this without buying anything new.
Choose the room before the gear
Record in the softest room you have. A bedroom with a bed, curtains, a rug and a full wardrobe will sound better than an empty living room with a nicer view. Hang blankets or duvets just out of shot if the room still sounds hollow. Clap once and listen: if you hear a ring after the clap, the room needs more soft surfaces.
Get the mic close and keep it there
A clip-on (lavalier) mic on your chest, or a desk mic close to your mouth and just out of frame, beats any mic on the camera. Whatever you use, keep the distance the same all through the session. Mark your seat position if you need to.
Kill the noise sources
Before you press record, switch off the air conditioning, fans and anything that hums. Put your phone in airplane mode. Close the windows. Record a few seconds of silence at the start. That "room tone" helps your editor clean up and fill gaps later.
Listen while you record
Wear headphones and listen to a short test recording before the real takes. You'll hear the fridge, the echo and the rustling shirt that you'd otherwise only notice in the edit, when it's too late to fix.
Watch your levels
Record loud enough that your voice is clear, but never so loud that peaks distort. Distorted (clipped) audio can't be repaired afterward. If in doubt, record slightly quieter and raise it later.
If you do all of the above, your home audio will be better than most of what's on social media. For many creators that's enough.
Why does good audio still need cleaning up afterward?
Even well-recorded audio isn't finished audio. Professional microphones are sensitive: they pick up everything, including the faint hum of a building and the small level differences between takes. That's why studio recordings go through a finishing pass before they're posted.
At Estudio Helios this pass is part of what the studio calls post-production optimisation. In practice it means three things: removing room hum, evening out levels between takes, and bringing the voice up to broadcast standard. It's done alongside colour grading, and it isn't editing. There's no cutting, so the files arrive clean and ready for your own editor.
You can do a basic version yourself with the noise reduction and loudness tools in most editing software. The risk is overdoing it. Heavy noise reduction makes a voice sound thin and watery, which is often worse than a little background hiss. If you're unsure, go gently. The picture side of this finishing step is covered in Why Does Log Footage Look Flat? What You Get After the Shoot.
When does a studio make the difference?
Be honest with yourself about which group you're in.
Home is probably fine if you film short, casual clips on your own, you have a quiet soft room, and your audience expects an informal feel.
A studio is worth it when:
- There's more than one person talking. Podcasts and interviews need a separate mic for each voice and a way to record them cleanly together. This is where home setups usually fall apart. See How to Record a Video Podcast in Medellín.
- The content has to last. Course modules, video sales letters and brand videos stay up for years. Room echo you could live with in a reel becomes a constant distraction across a twelve-module course.
- You can't control your room. A street outside, building work next door or bare walls you can't treat.
- You want sound and picture done in one go. Treated rooms, the right mic for each format and a finishing pass afterward, without having to learn any of it yourself.
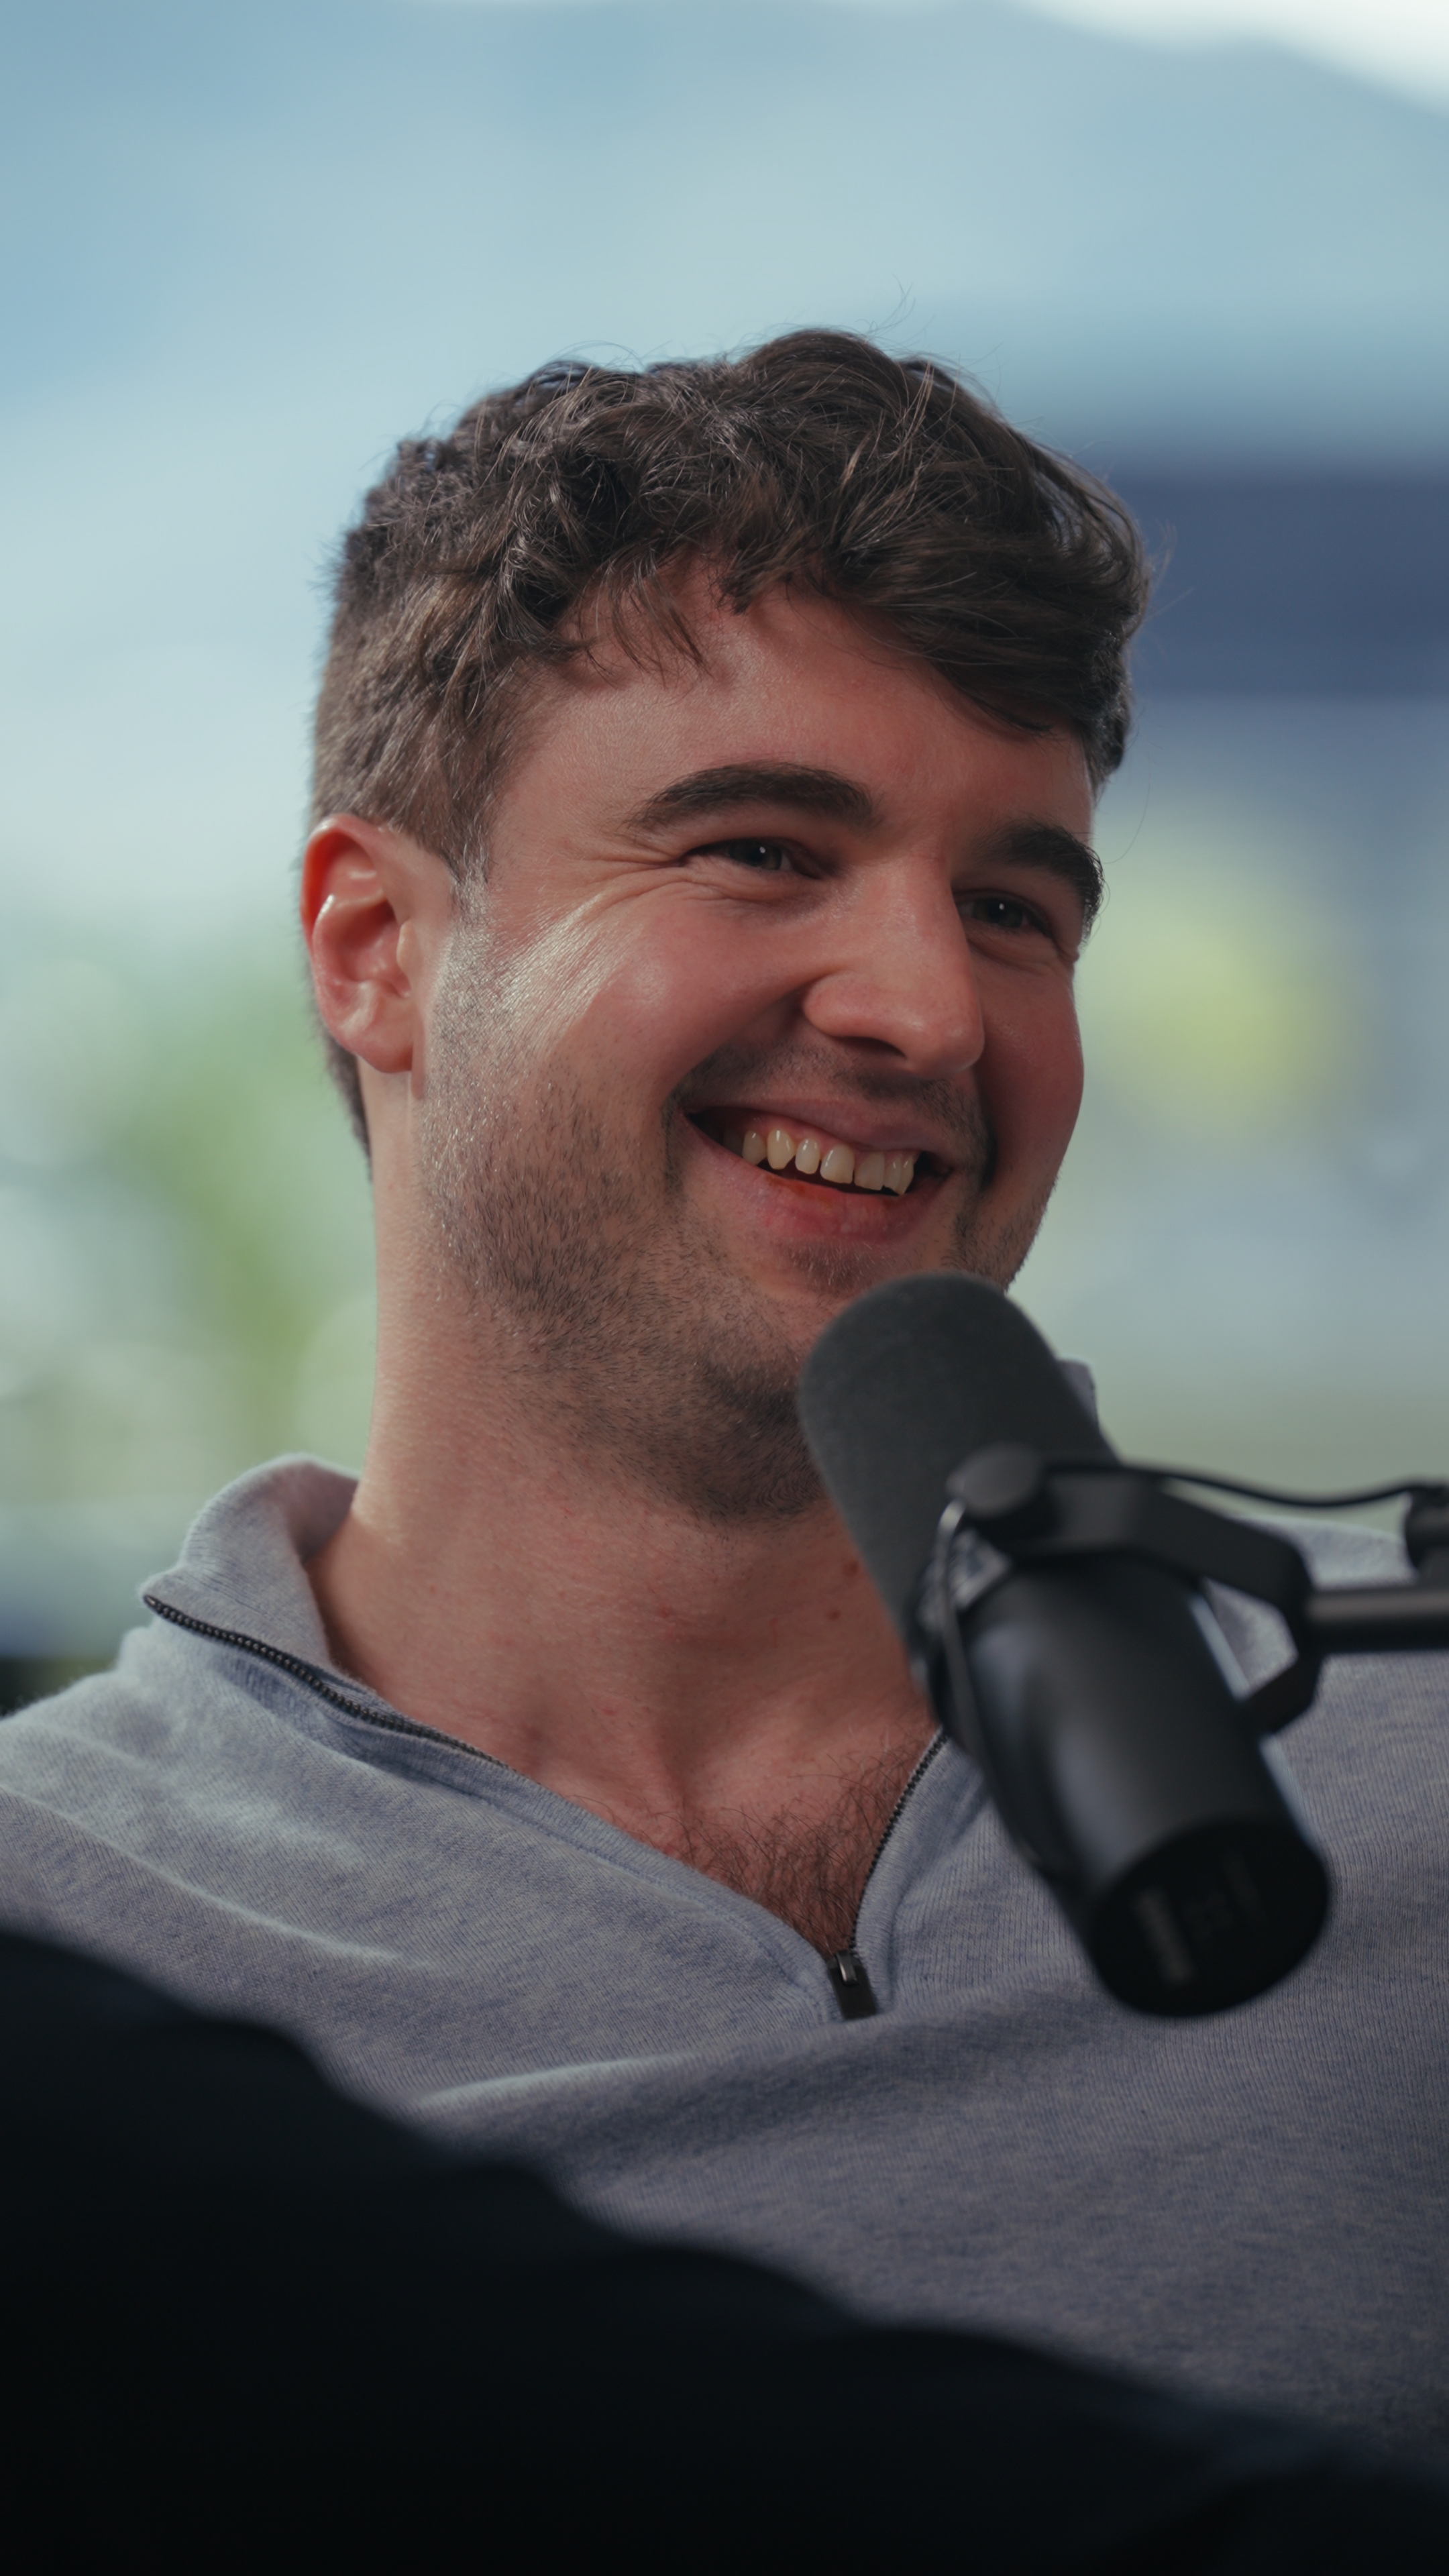
As a concrete example of what a studio provides, Estudio Helios in El Poblado records with Shure SM7B microphones for podcast-style setups, Sennheiser MKE 600 shotgun mics on boom poles when the mic needs to stay out of shot, Rode Wireless Pro clip-on mics, and a Zoom PodTrak P8 recorder. A dedicated filmmaker checks the audio before recording starts. On the hourly plan the colour grading and audio optimisation costs USD 70 per session, whatever the length; it's included in the prepaid passes.
If you're weighing up filming in a studio against filming somewhere else in the city, Studio vs Location Shoot in Medellín goes through the trade-offs, and the cost guide helps with the budget.
A quick checklist before your next recording
- Softest room available, with no echo when you clap
- Mic close to your mouth, at the same distance for every take
- Air conditioning, fans and notifications off
- A few seconds of room tone recorded
- Headphones on for a test take
- Levels clear but never distorting
- A gentle clean-up pass, or a professional one, before posting
Frequently asked questions
Is phone audio good enough for business videos?
It can be if you use a clip-on mic, a quiet soft room and steady levels. The phone's built-in mic, held at arm's length or further away, usually picks up too much of the room to sound professional.
What does audio optimisation include?
At Estudio Helios, it means removing room hum, evening out levels between takes and bringing the voice up to broadcast standard. It doesn't include editing, cutting or effects.
Does a studio edit my audio for me?
Estudio Helios doesn't edit. Footage and audio are delivered colour-graded and audio-optimised, ready for your own editor, to Google Drive within three working days.
Can I get the audio as a separate file for a podcast feed?
Yes. Additional audio-only exports are available as an add-on at USD 50 per session at Estudio Helios.
What's the single biggest fix for bad audio at home?
Move the microphone closer to your mouth and record in a softer room. Those two changes do more than any new piece of gear.